In this article, we will learn about Web Disk option in CPanel
Create a Web Disk account to manage, navigate, upload, and download the files on your web server. Web Disks are relative to your account’s home directory. The home icon signifies your home directory which is “/home/username”.
For more information, read documentation here: https://go.cpanel.net/WebDisk
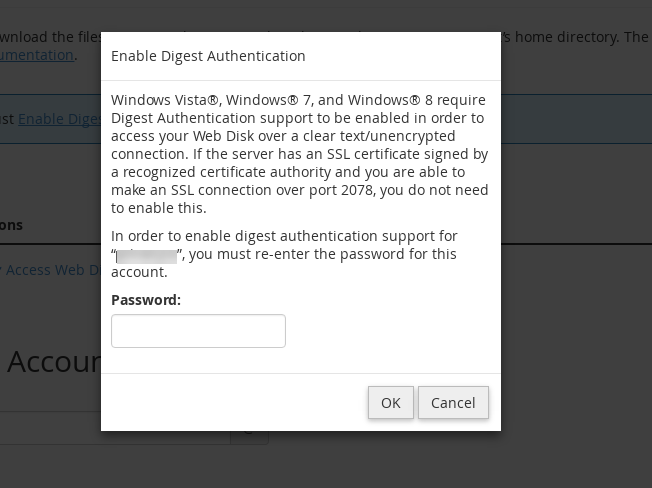
Windows Vista®, Windows® 7, and Windows® 8 require Digest Authentication support to be enabled in order to access your Web Disk over a clear text/unencrypted connection. If the server has an SSL certificate signed by a recognized certificate authority and you are able to make an SSL connection over port 2078, you do not need to enable this.
In order to enable digest authentication support for “username”, you must re-enter the password for this account.
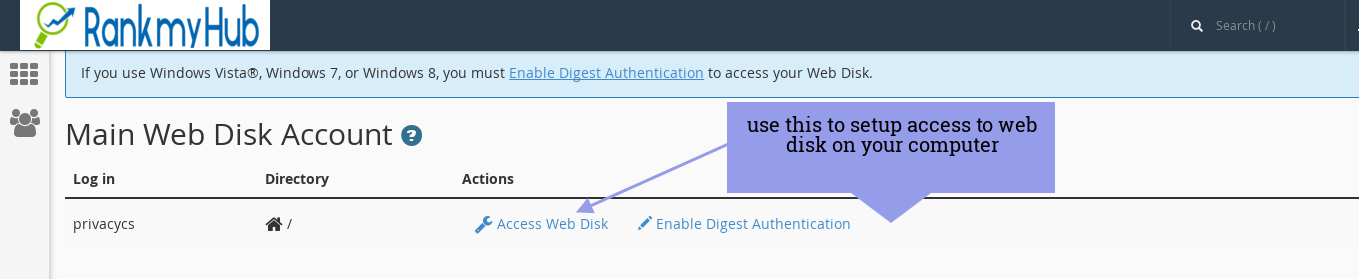
By default, there will be a primary web disk account. It will have access to the root folder of your account. You can use this to setup web disk on your operating system.
CPanel will detect the Operating system you are using from your browser fingerprint, and it will automatically display a message like in the below screenshot. It will assist you to make use of the wizard to choose the correct configuration.
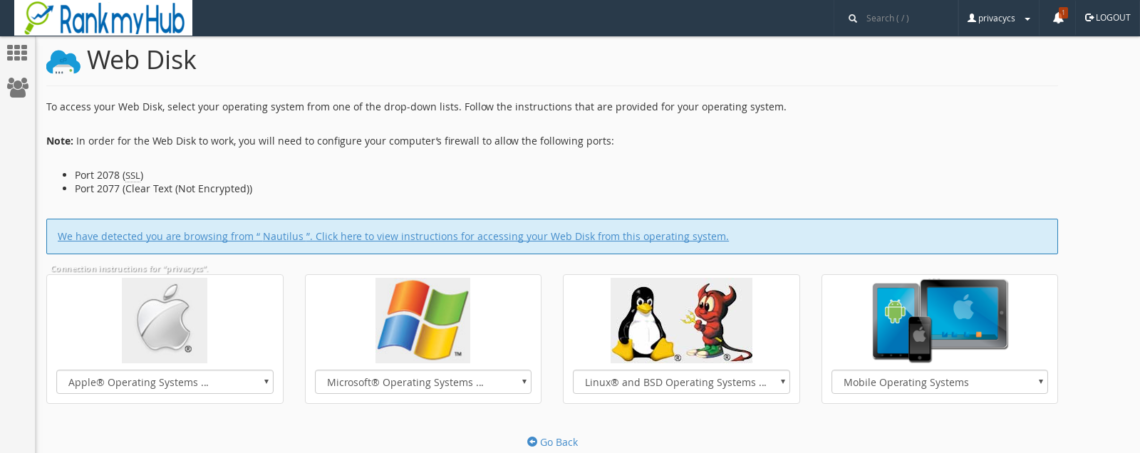
Web Disk will display all operating systems and its file explorers. Here you can see that for us, it suggested Nautilus as we are using linux distribution. If you are using Mac or Windows OS, then it will display the respective OS file explorer to choose.
You can click the drop down menu in your operating system placeholder and it will display the instructions. For example, these below screenshot is for our computer web disk configuration.
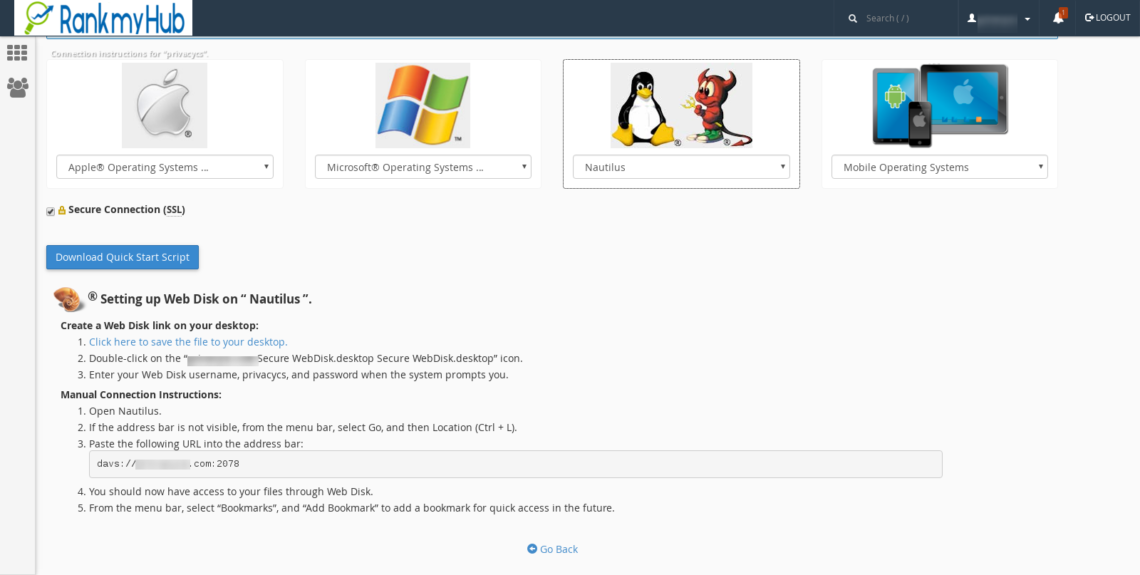
In a similar manner, you can select the operating system on which you want to connect to Web Disk. CPanel will provide complete instructions that are very easy to follow to connect with the Web Disk.
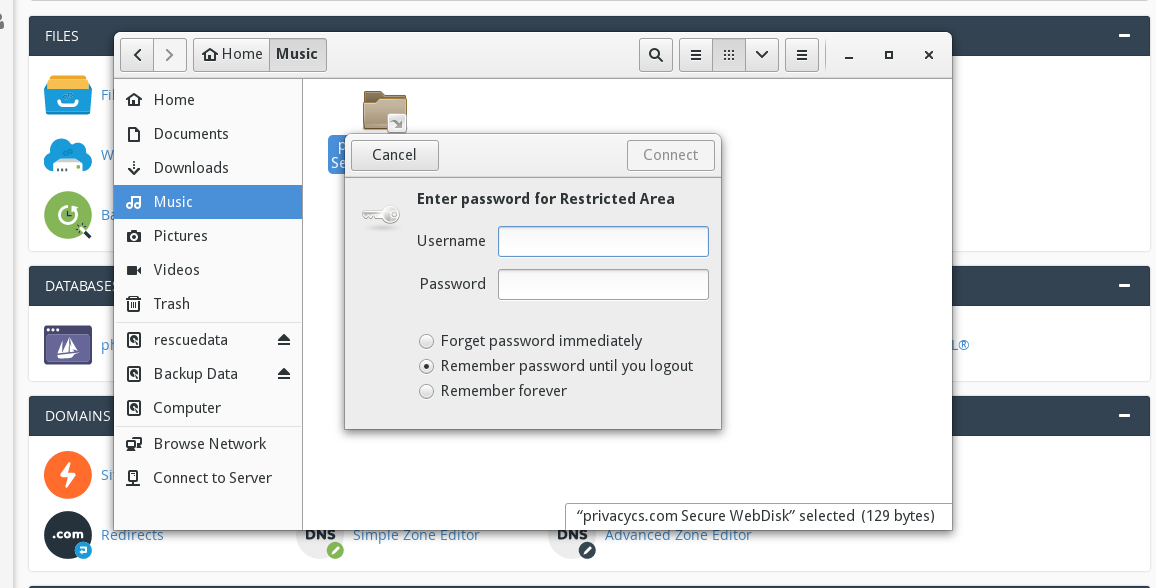
Once you have downloaded the configuration file to your computer. Double click it and wait for the access dialog box to appear. Here in this dialog box, enter your login details and the web disk will be mounted in your computer. It can be accessed anytime as long as you are logged in.
Web Disk is very useful if you use local server or local development environment and just want to copy the files from your hard disk partitions to server folder easily. It acts as FTP alternative for working with files.
We hope this article will help you on learning how to use Web Disk option in Cpanel.